In this blog post of the Remote control software project I’ll be setting up the environment for our project, which will be done with VirtualBox. Our devices will be Kali Linux for the attacker machine and Windows 10 for the victim machine.
Pycharm installation
Let’s start with the attacker side of things. Luckily I already have a Kali Linux installed on my VirtualBox, and I’d rather avoid the process of doing it again, so we’ll roll with that. However, I did not have a Python IDE ready (PyCharm is what I prefer) so I went out and installed it. Here is how I did that:
First of all, download the community version here: https://www.jetbrains.com/pycharm/download/#section=linux
After you’ve downloaded the file to your machine, go to your Downloads folder (or wherever you downloaded the file to) and then unpack it with the following command:
sudo tar xzf pycharm-*.tar.gz -C /opt/
You can use a different file destination, I prefer the /opt/ in this case. By the way, make sure to run this command from the Download directory. Now, just head over to the installation folder, should be /opt/pycharm-*/bin in this case, and then run pycharm:
sh pycharm.sh
PyCharm should launch properly now, and you’re ready to start coding!
Windows 10 machine
Next we’ll obviously need the victim machine ready to go. Notice that while testing the software we will be conducting the first experiments offline, but this can be done once we reach that stage.
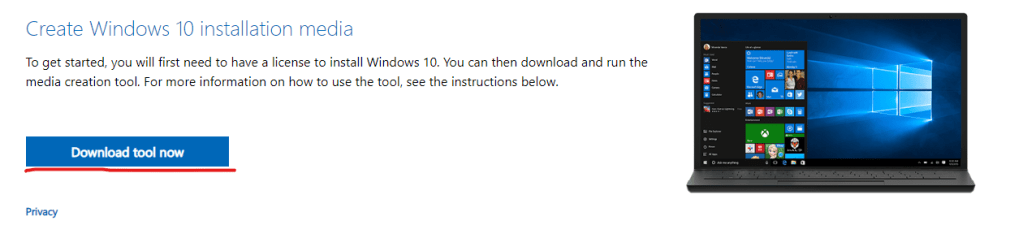
Let’s start by getting the Windows 10 iso-file. We’ll go to https://www.microsoft.com/en-us/software-download/windows10 and click the “Download tool now”:
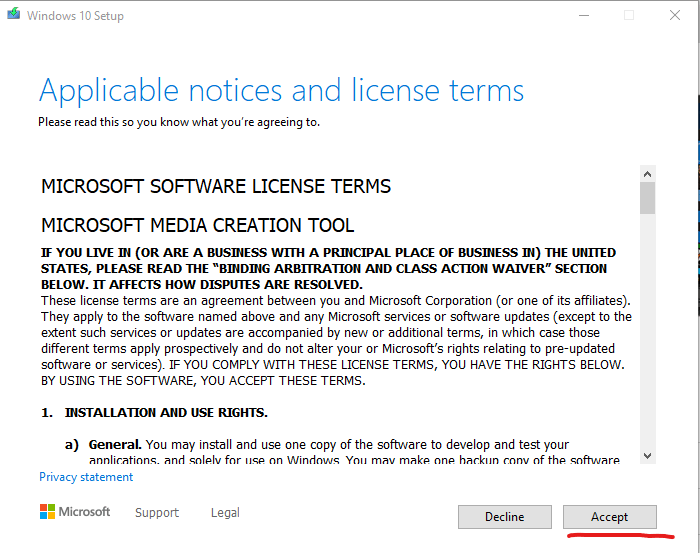
After we’ve downloaded the file, we run it. Just accept the licenses/etc:
On the next screen be sure to select the correct option, “Create installation media”, then go next:

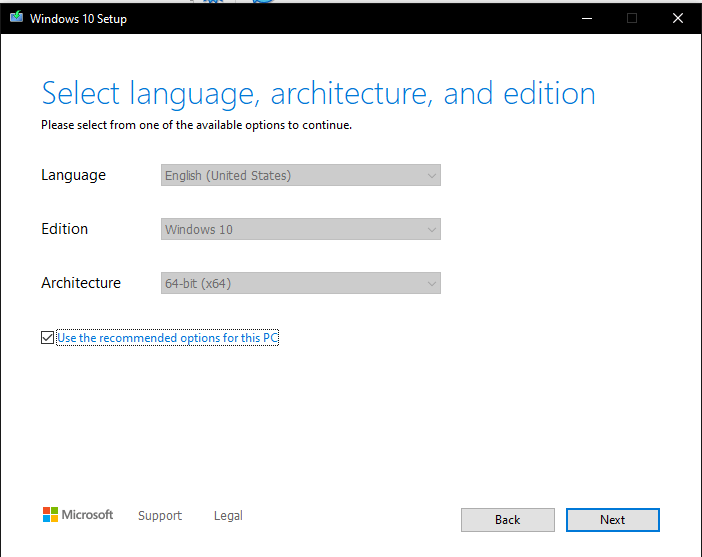
Just go next here.
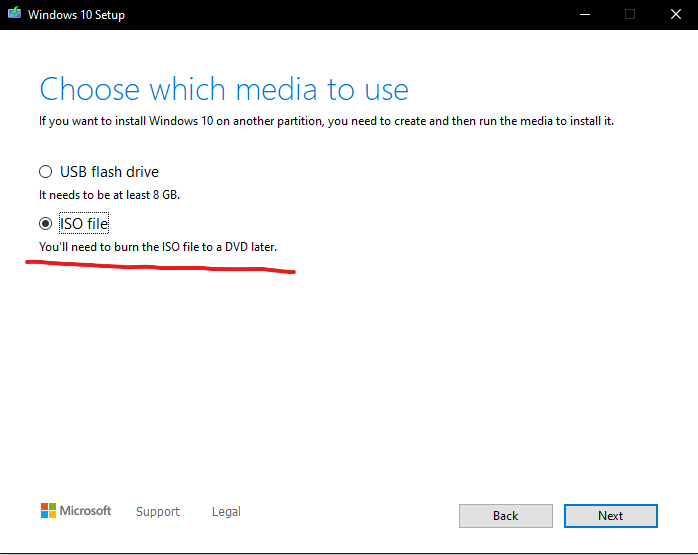
Be sure to select ISO-file here, and go next:
You can save the file where you want to, I personally just made a new folder for it. After that just Finish to exit the program.
Creating a new virtualbox instance
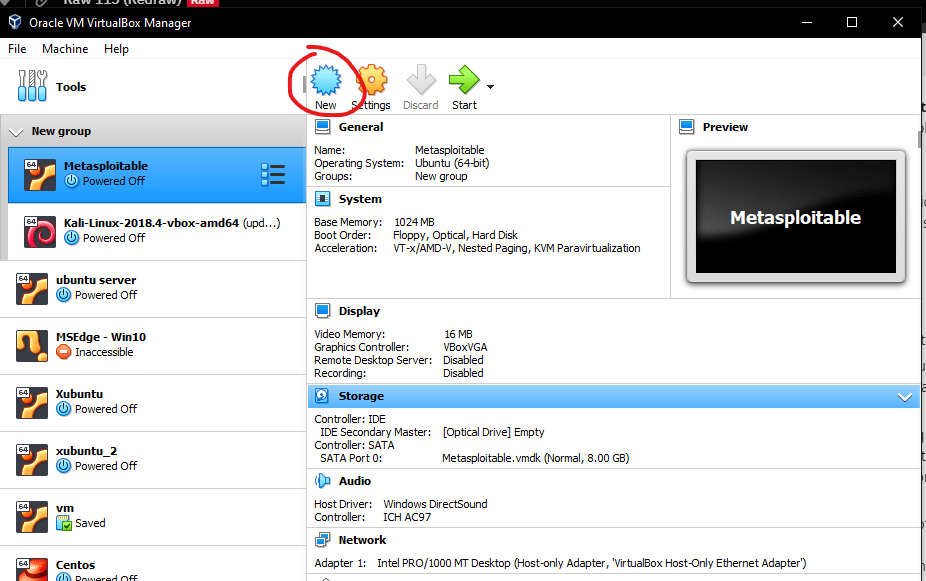
Click on New.
Just name your virtual instance (if you give it a name such as Windows 10 it automatically detects the type and version). Press Next.

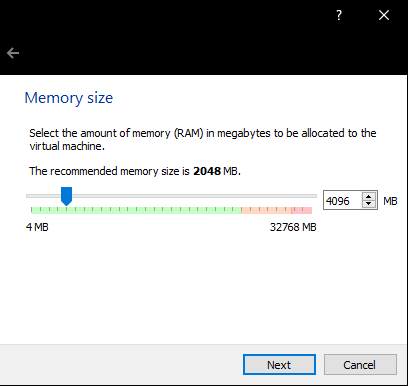
Next you’ll want to decide the amount of RAM for your virtual machine. I’m going overboard here, you don’t need 4GB. Next.
Default settings are fine here, just click Create.
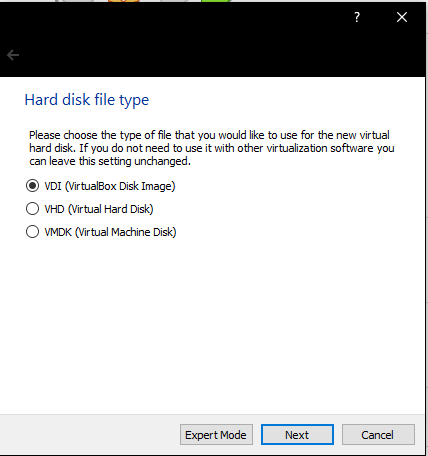
Again, go with defaults and click Next.
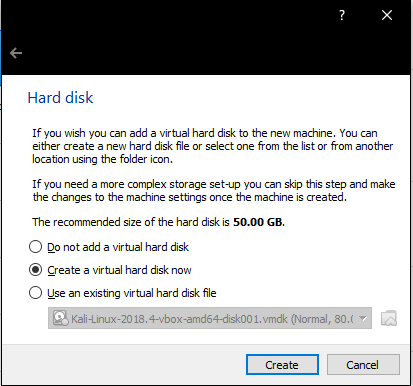
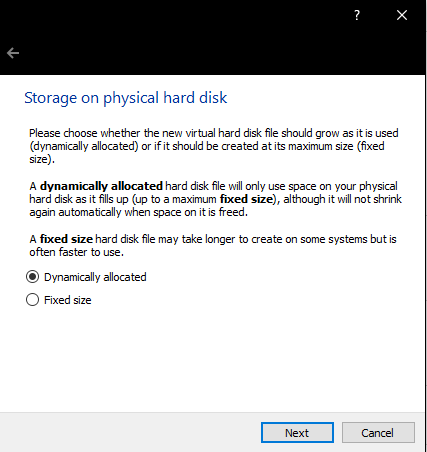
Dynamically allocated disk saves some space from your host computer, since it won’t use resources that it doesn’t need. Next.
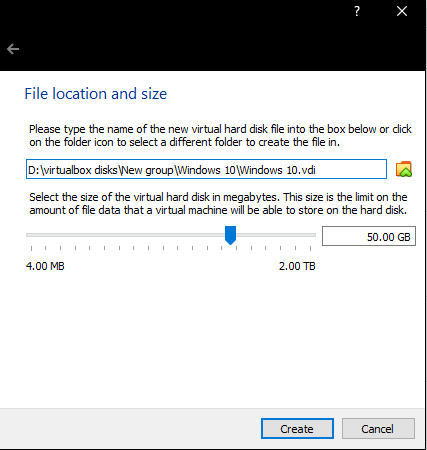
Now you’ll decide the installation path, choose the disk and folder path you like the most. 50GB is more than enough for our purposes. Click “Create”.
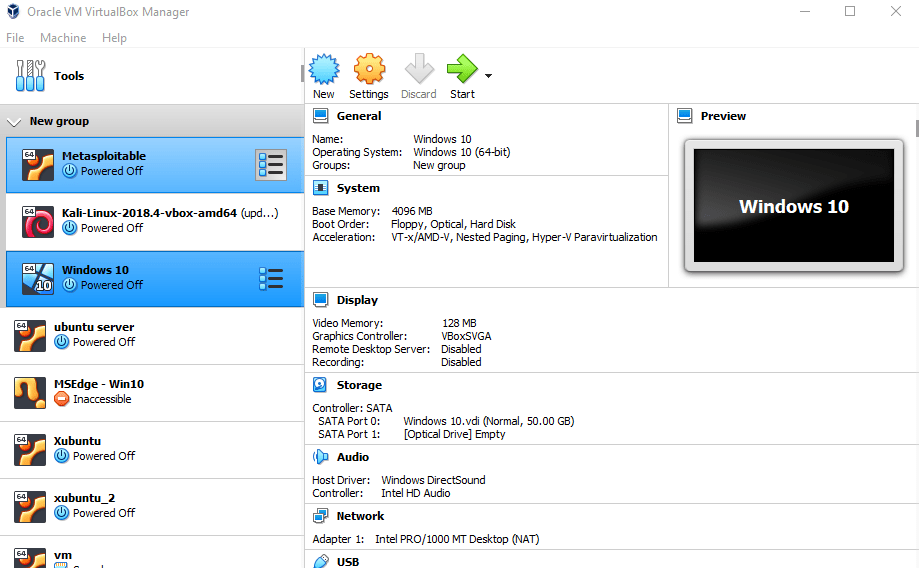
Now you’ll have the instance created, but we’re not done yet. Select the newly created Instance, and click “Start”.
Now is the time to select your .iso file. In the case your .iso file is not automatically selected, click the highlighted icon:
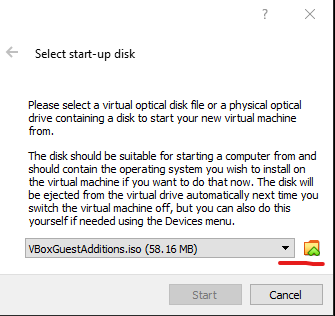
If your .iso file is not on the list, click “Add”.

Now browse to the location of your .iso file in the previous step, and then select it. Click “Open”:
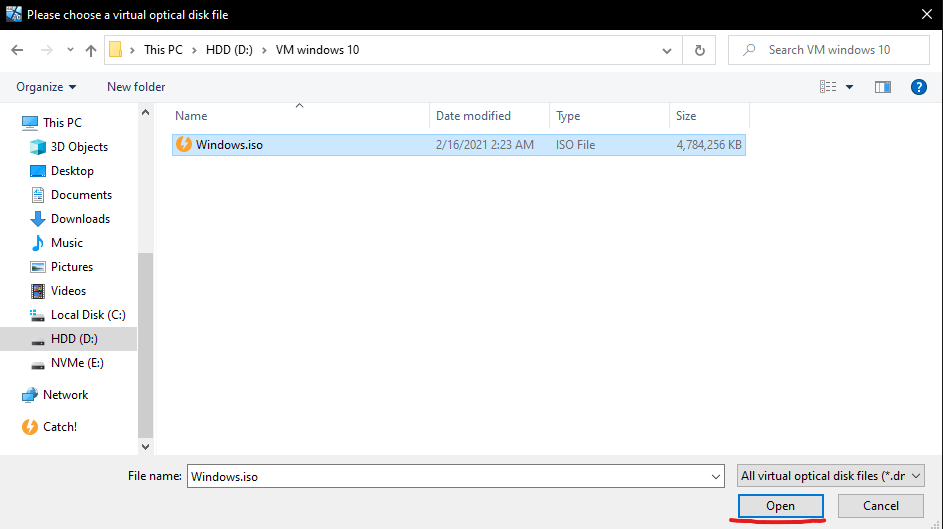
Now just choose the Windows iso-file.

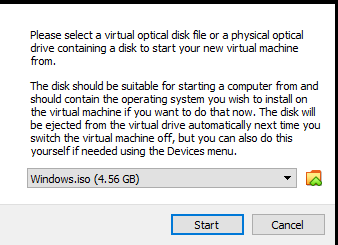
Now we’re ready to start the actual installation. Just click “Start” once you’ve confirmed you’ve selected the correct iso-file:
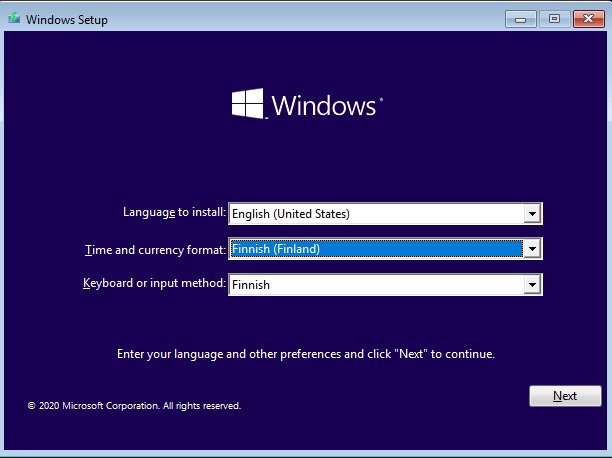
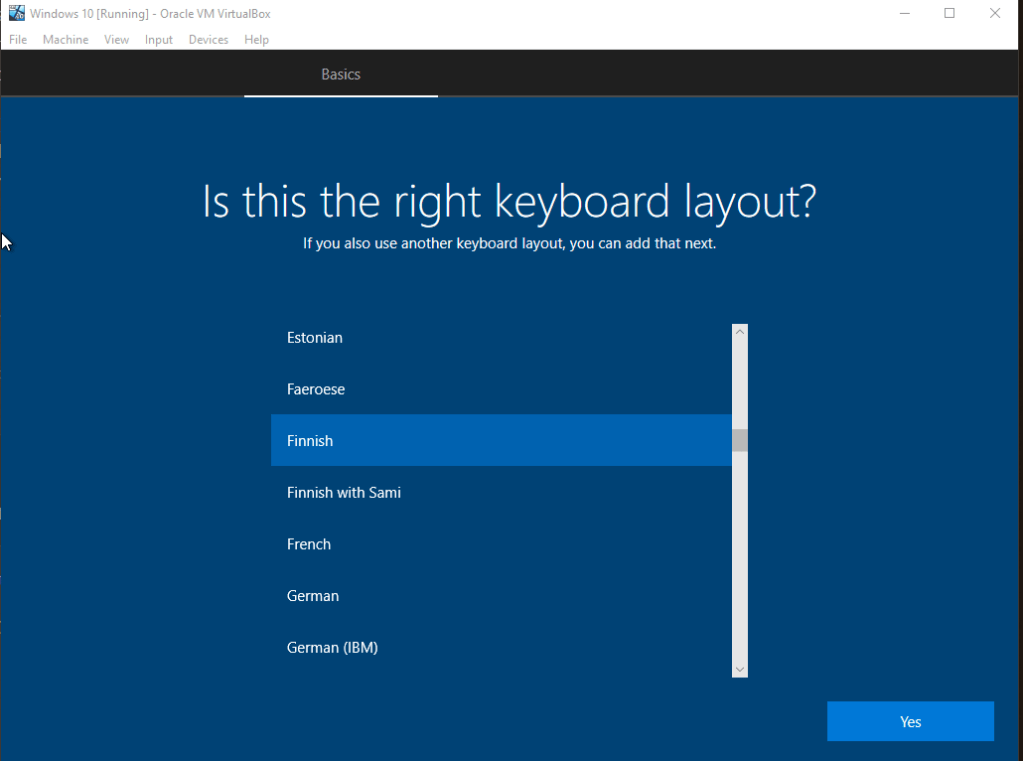
Once you get this screen, select the preferred installation language and keyboard layout. I prefer the text to be in Finnish, but having a US keyboard layout is very confusing, which is why I recommend the Finnish layout for anyone from Finland. Click Next once you’re happy with the choices.
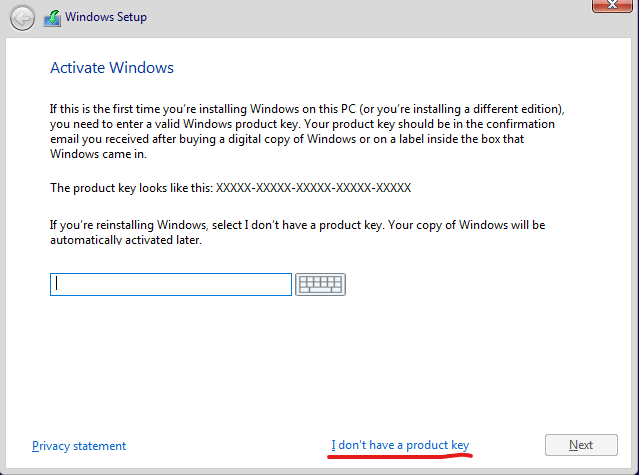
Now it’ll ask you to activate Windows. Unless you’ve prepared a product key, go with “I don’t have a product key” at the bottom.
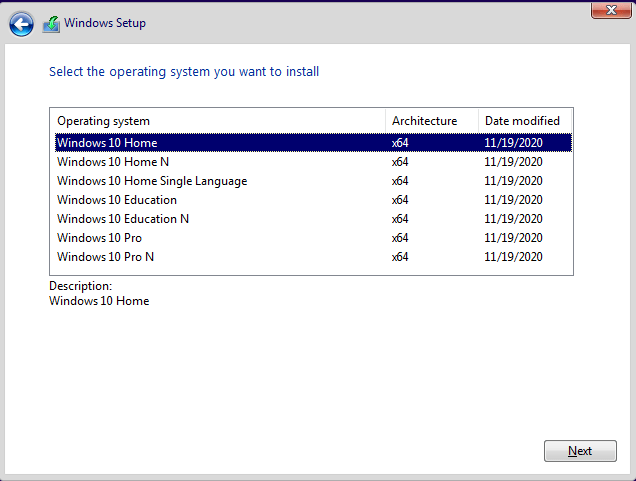
Now you’ll be selecting the operating system. I personally don’t really care, and this shouldn’t really matter anyway (who even knows what the differences are, jeez). We’ll just go with Windows 10 Home, which is the “basic”.
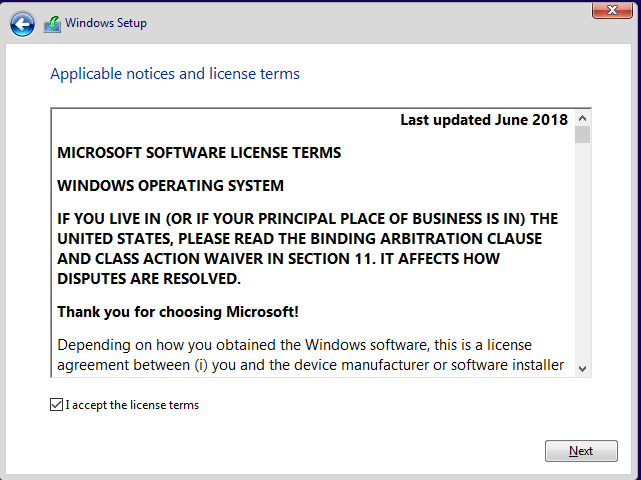
Accept the licenses/etc and click Next.
You’ll need to choose the CUSTOM option here. We can’t upgrade the OS as we are doing a fresh install.

After you’ve clicked on Custom, just continue with the default and the installation process will begin. Once the installation is done, it’ll ask for your region, I said Finland. For the keyboard layout, go with your own layout.
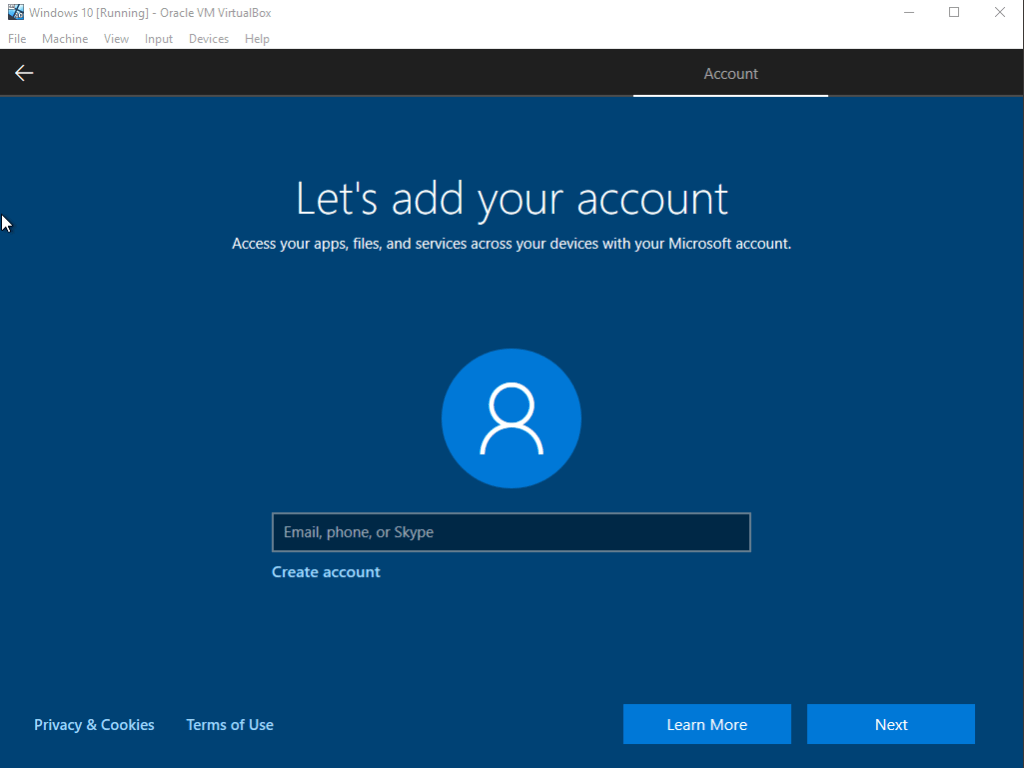
It’ll ask you if you want a second keyboard layout. Personally I don’t need this, so I’m just going with Skip. Slightly annoyingly, it’s asking for us to add an account. I just created a new one with a throwaway email address that I had. Not a big deal. Create the account or use an existing account.
I’m not sure what it’ll ask next if you use an existing account, but I had to give my country/birth date and also create a PIN for the account. After you’re done with that it’s going to ask if you want a bunch of features, just say No. Windows is quite annoying with stuff like this, probably why I should’ve picked something other than Windows 10 Home. Anyways, I just declined all the features and skipped through to the end of the installation. Here is the end result:
In the last part, we’ll make sure that the two computers (Our Kali Linux attacker and Windows 10 target) are in the same network.
Network configuration in VirtualBox
What I personally like to do is make a Nat Network and use that to make sure that the devices are in the same network. Remember that later on we’ll have to disconnect the devices from the internet for our malware tests, but that is not necessary just yet.
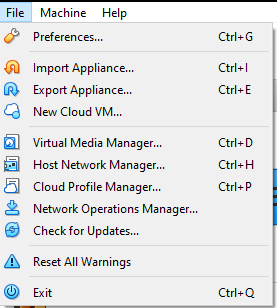
Let’s start by creating a new Nat Network to document the whole process. On VirtualBox, go to File -> Preferences:
Select Network and click the small green icon on the right-side of the screen:
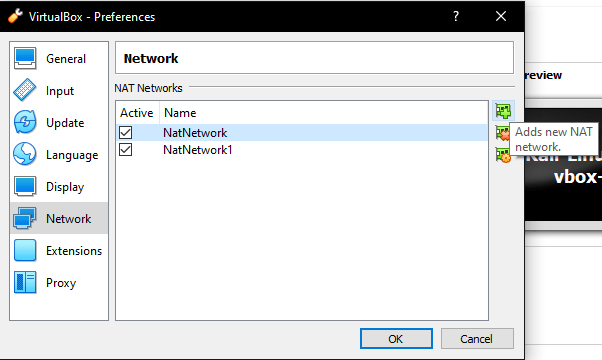
It should create a new NatNetwork, and it’ll be named NatNetwork2 in our case since I’ve already made two NatNetworks before this. However, we can rename this by clicking the orange icon on the right-hand side:

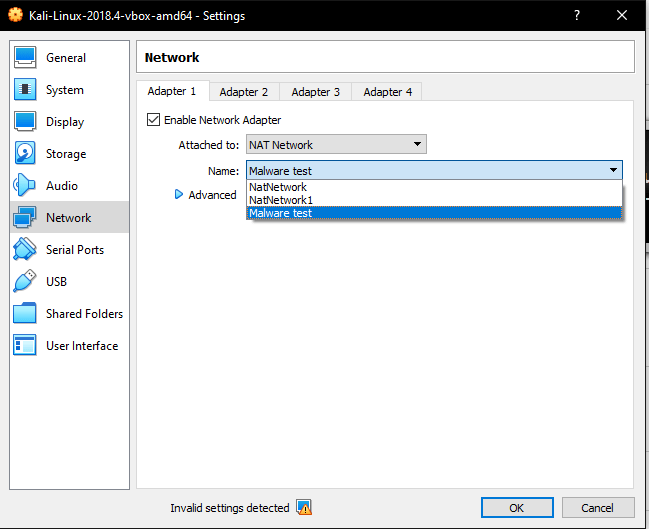
I’ve decided to name mine Malware Test, though you’re free to name your Nat network what you wish. After this just click OK twice, and we’ll have that new Nat Network. Now we only have to include these devices in the network. Let’s start with our Kali attacker machine. Click your Kali instance and then Settings.
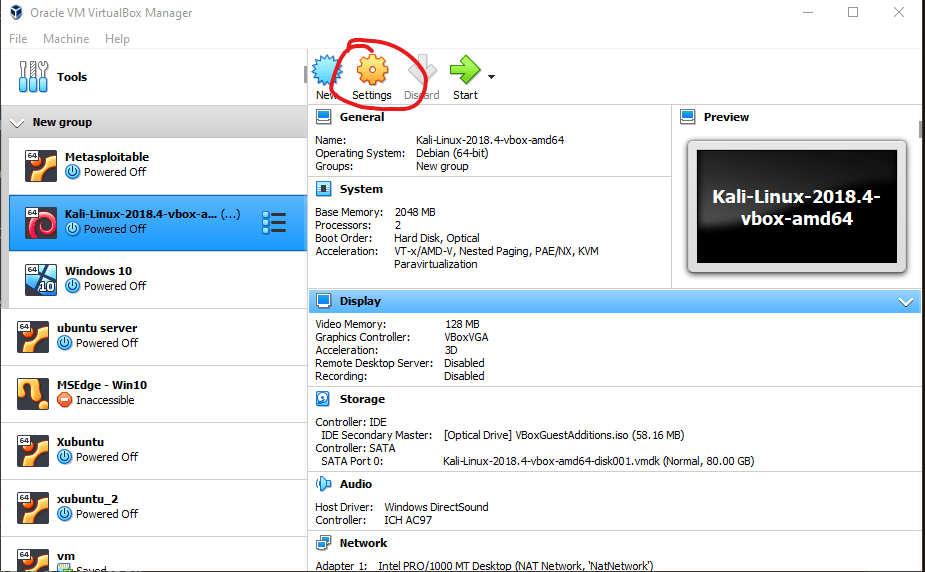
Select Network and then Nat Network and make sure you have the right NAT network selected (in my case it’s Malware Test as we just established).
Now repeat the process for the Windows 10 machine. Let’s start both of these instances and test our connection!
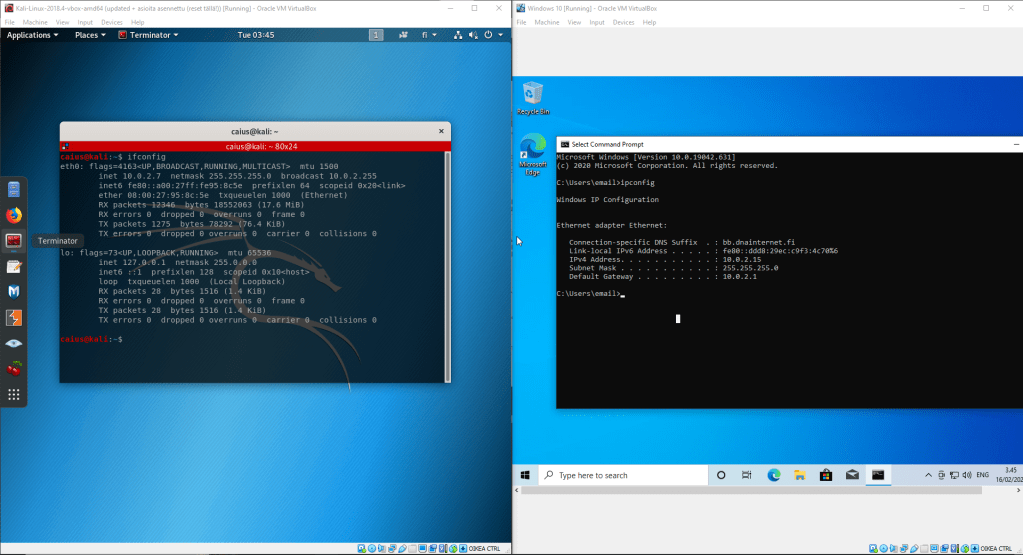
As we can see, the devices seem to be in the same network. However, we can test this properly by having the devices ping each other.
Surprisingly, we failed! While the Windows machine was able to ping the Kali machine, the opposite was not true. I tried a couple of things to get the problem down. First, I tried pinging the default gateway on the Kali machine:
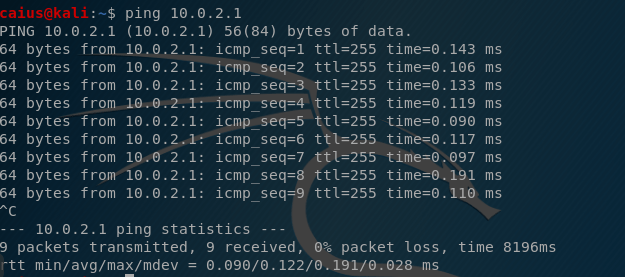
This worked just fine. I also thought that insufficient permissions might have something to do with it, which is why I also tried to sudo ping:
That didn’t work either. Okay, what about the Windows 10 machine? Though I’m not sure how it could happen, maybe it’s pinging a machine that is not actually the Kali machine, so I tried a couple random IP-addresses:
The first couple IP-addresses returned nothing, as expected. However, the 10.0.2.2 and 10.0.2.3 addresses returned my pings, which didn’t seem to make much sense! However, upon further inspection, these addresses seem to be related to how VirtualBox does its networking, as my Kali machine was able to ping these addresses:
So as the situation stands, our Kali (the attacker) is not able to ping our victim (Windows) but the victim is able to ping the attacker! Normally this shouldn’t be possible since a ping is supposed to be a two-way street, which is why I still suspect the problem lies with the Windows machine: its not responding to the pings. This makes me think it’s a firewall issue.
I head over to the Windows Firewall settings by typing “Windows firewall” in the search bar. Click on “Firewall & Network protection”:

Next we’ll need to go to the advanced settings:
In the advanced settings, click on Inbound rules. We’re looking for a rule with the name “File and Printer Sharing (Echo Request – ICMPv4-In)”. Here we go:
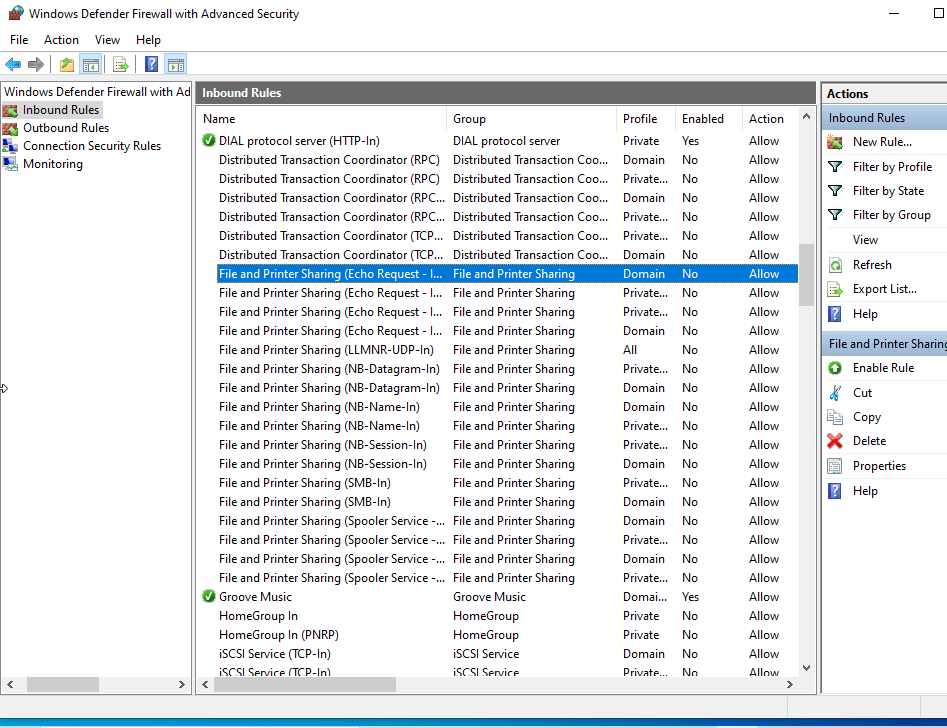
As you can see, this option is disabled, confirming my suspicions. Let’s enable both rules (there’s one for domain and one for Private and Public):
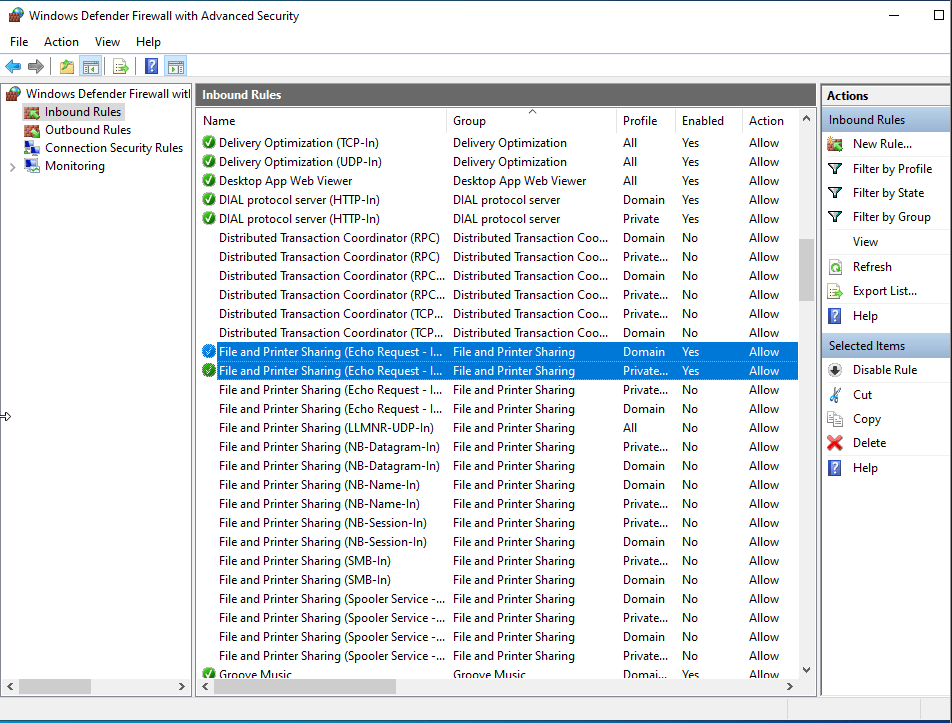
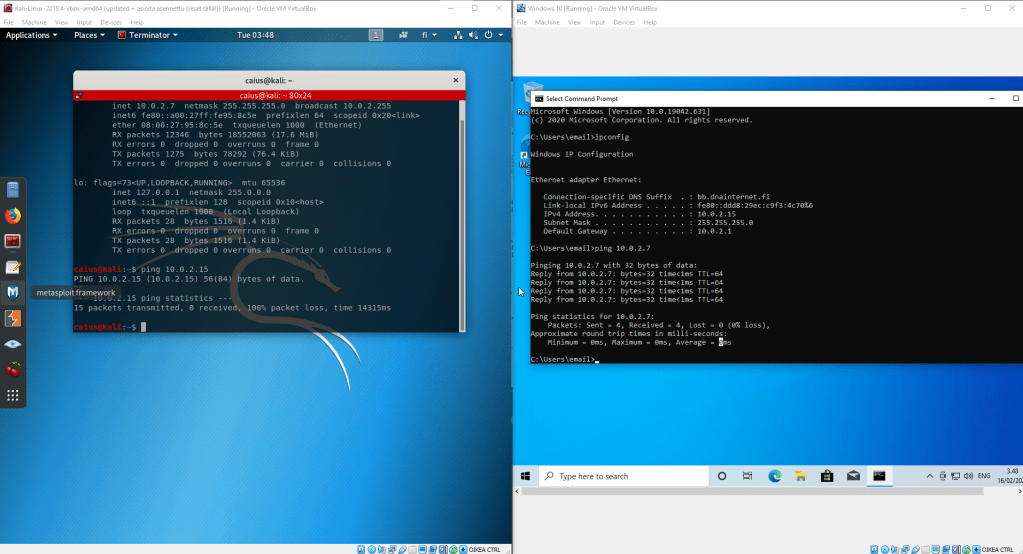
Next we’ll try pinging again.
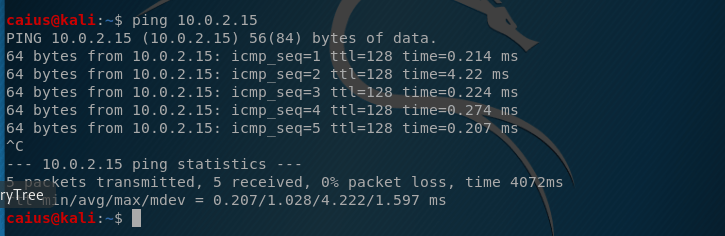
As you can see, the ping is now successful! While it might not be crucial for our devices to be able to ping each other, we still want to confirm that the devices are indeed in the same network, since otherwise the whole project would be a little bit more challenging to complete. Plus, I liked solving the problem with the pings, so there you go.
We’ve now successfully set up the environment and we’re ready to move on to the next stage. Catch you on the next episode!
Caius Juvonen

One thought on “Remote control software project – Setting up the environment – Caius Juvonen”